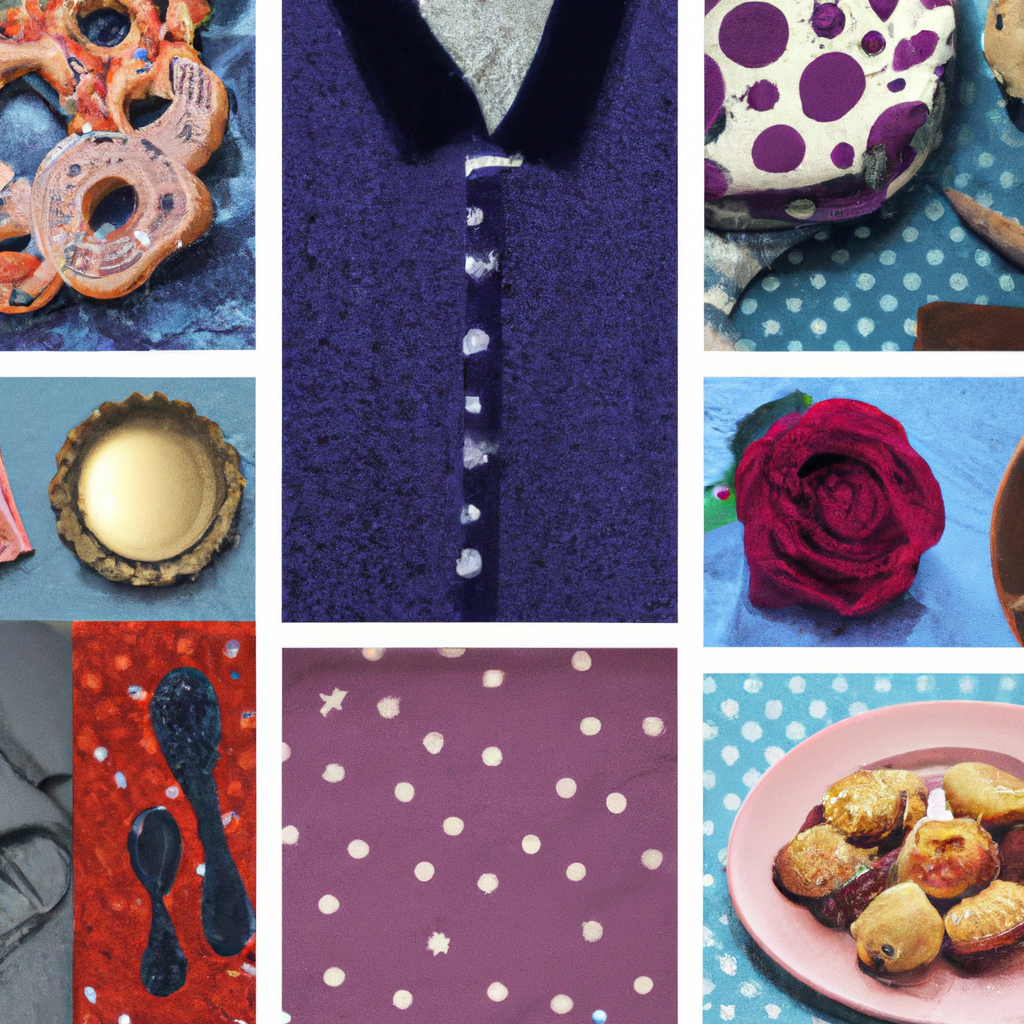
Are you looking for some fun and eco-friendly crafting ideas? Look no further! In this article, we will explore 10 creative ways to craft with recycled materials. From turning old jars into beautiful candle holders to transforming cardboard boxes into stylish storage solutions, these ideas will not only help reduce waste but also allow you to exercise your creativity. So, gather up your unused items and let’s get crafting!
1. Bottle Cap Crafts
Painted Bottle Cap Magnets
One creative way to repurpose bottle caps is by turning them into colorful magnets. Start by collecting bottle caps of different sizes and colors. Clean them thoroughly and let them dry. Then, use acrylic paint to decorate each bottle cap with your favorite designs, patterns, or even miniature paintings. Once the paint is dry, attach small magnets to the back of the bottle caps using strong glue. Now you have a collection of unique and personalized magnets to display on your fridge!
Bottle Cap Coasters
Instead of throwing away bottle caps, why not transform them into stylish coasters? Begin by collecting a large number of bottle caps, depending on the desired size of your coasters. Clean and dry them thoroughly. Arrange the bottle caps in a pattern or design of your choice on a flat surface, ensuring they fit together tightly. Once you’re satisfied with the arrangement, carefully glue the caps together using epoxy or a strong adhesive. Allow them to dry completely before using your unique bottle cap coasters to protect your surfaces from heat and moisture.
Bottle Cap Jewelry
Create trendy and eco-friendly jewelry by utilizing bottle caps. Start by collecting clean and dry bottle caps in various colors and sizes. Flatten the bottle caps using a heavy object, ensuring they are entirely flat. Then, punch holes at the top of each flattened bottle cap using a small hole punch. Now, you can get creative with your designs! Paint the bottle caps, add glitter, or even decoupage colorful paper onto them. Thread a jump ring through the hole in each bottle cap and attach them to chains, cords, or earring hooks to make necklaces, bracelets, or earrings.
2. Newspaper Crafts
Paper Mache Bowls
Transform old newspapers into beautiful and functional paper mache bowls. Tear the newspaper into thin strips and prepare a paste mixture by combining equal parts flour and water. Take a balloon and inflate it to the desired size of your bowl. Dip the newspaper strips into the paste mixture and apply them to the balloon, layering them to create a sturdy bowl shape. Allow the paper mache to dry completely, then carefully deflate the balloon and remove it from inside the bowl. Decorate your paper mache bowl with paint, fabric, or decoupage materials to give it a personalized touch.
Newspaper Wall Art
Give your walls a unique and eco-friendly makeover with newspaper wall art. Start by collecting newspapers or old magazines with colorful pages. Cut out different sized shapes, such as circles or squares, from the pages. Arrange the shapes on a blank canvas or a wooden board, creating an interesting and eye-catching composition. Once you’re satisfied with the arrangement, glue the shapes onto the surface using a strong adhesive. Let the artwork dry completely before displaying it on your wall, adding a touch of creativity and sustainability to your home decor.
Rolled Newspaper Flowers
Create beautiful and everlasting flowers using rolled newspaper strips. Take a newspaper page and cut it into long, thin strips. Roll each strip tightly, starting from one corner and continuing until you reach the end. Secure the end of the strip with glue, creating a rolled paper tube. Repeat this process with multiple strips to create a bouquet of rolled newspaper flowers. To add color, paint the tips of the rolled strips or use colored newspapers. Arrange the flowers in a vase or create a unique bouquet by attaching them to wire stems and wrapping them together with floral tape.

3. Cardboard Crafts
Cardboard Photo Frames
Make personalized and eco-friendly photo frames using cardboard. Cut two identical rectangles from a sturdy cardboard box, ensuring they are slightly larger than your desired photo size. Cut out a smaller rectangle or shape from the center of one of the cardboard pieces to create a frame opening. Decorate both pieces with paint, markers, or wrapping paper. Place the photo in between the two cardboard pieces, aligning it with the frame opening. Glue or tape the edges together, creating a seamless and customized photo frame.
Cardboard Tube Pencil Holder
Repurpose cardboard tubes into a practical and fun pencil holder. Collect several empty toilet paper or paper towel rolls. Trim them to the desired height and trim a straight line across the top to even out the edges. Decorate the outside of the tubes using paint, washi tape, or colorful paper. Arrange the decorated tubes in a desired pattern or stack them inside a larger cardboard box for stability. Once you’re satisfied with the layout, attach the tubes to each other using strong glue. Now, you have an organized and upcycled pencil holder for your desk or workspace.
Cardboard Box Organizer
Declutter your space with a DIY cardboard box organizer. Find an old cardboard box and cut off the flaps from the top. Depending on the size of the box, divide the inside into different compartments by attaching pieces of cardboard vertically or horizontally. You can also use smaller boxes or shoeboxes to create individual sections within the larger box. Decorate the outside of the organizer with colorful paper, fabric, or paint. Now, you have a customized and functional organizer to store various items such as office supplies, crafts, or even kitchen tools.
4. Tin Can Crafts
Tin Can Lanterns
Add a touch of warmth and ambiance to your outdoor space with tin can lanterns. Start by collecting empty tin cans and removing any sharp edges. Fill the cans with water and place them in the freezer overnight. This will make poking holes in the cans easier. Once the water is frozen, draw or trace a design onto the surface of each can. Use a hammer and nail to carefully punch holes along the drawn lines, creating beautiful patterns. Let the ice melt, dry the cans, and paint them with heat-resistant and weather-proof spray paint. Insert a candle or battery-operated LED light into the can, and enjoy the mesmerizing glow of your handmade lantern.
Tin Can Planters
Give your plants a unique home by using tin cans as planters. Clean and dry empty tin cans, removing any sharp edges if necessary. Paint the cans with weather-proof paint or cover them with colorful washi tape to add a pop of color. Fill each can with soil and add your favorite plants or herbs. Make sure to provide appropriate drainage by drilling small holes in the bottom of the can or placing rocks at the bottom before adding soil. Arrange the tin can planters indoors or outdoors, creating a charming and sustainable garden display.
Tin Can Wind Chimes
Create soothing sounds and visual interest in your outdoor space with tin can wind chimes. Start by collecting several empty tin cans of different sizes and remove both ends. Clean and dry the cans thoroughly. Decorate each can with weather-proof paint and allow them to dry completely. Using a drill, make small holes around the bottom edge of each can. Attach a sturdy string or metal wire to the top of each can, making sure they are at varying lengths. Tie the strings or wires to a circular metal hoop or a wooden stick. Hang the wind chime outdoors, and enjoy the delightful melodies created by the movement of the cans in the wind.
5. Plastic Bottle Crafts
Plastic Bottle Vase
Turn empty plastic bottles into beautiful vases for fresh or artificial flowers. Choose the size and shape of plastic bottles that match your desired vase design. Cut off the top portion of the bottle, leaving the bottom as the base of the vase. Decorate the remaining section of the bottle with paint, colorful tape, or by wrapping it with fabric or twine. Fill the bottle with water and place your favorite flowers inside. Alternatively, use the plastic bottle vase to hold artificial flowers, creating a sustainable and long-lasting floral centerpiece.
Plastic Bottle Bird Feeder
Invite feathered friends to your garden by creating a bird feeder from plastic bottles. Choose a plastic bottle with a cap or lid. Cut two or more small holes near the bottom of the bottle, large enough for birds to access the birdseed. Make two corresponding holes at the top of the bottle and thread a string or wire through them to hang the feeder. Fill the bottle with birdseed through the top opening and secure the lid. Hang the bird feeder in a suitable location, ensuring it is safe and visible for the birds. Enjoy watching birds visit your garden and indulge in the food you provide.
Plastic Bottle Piggy Bank
Teach children about the importance of saving money by making a plastic bottle piggy bank. Take a clean and dry plastic bottle and remove any labels or decorations. Cut a small slit near the top of the bottle, wide enough to fit coins and bills. Decorate the bottle to resemble a cute piggy face using paint, markers, or construction paper. You can add a pair of googly eyes, ears, and a snout to create a playful appearance. Encourage children to save their spare change and place it through the slit, helping them develop good saving habits while having fun at the same time.
6. CD/DVD Crafts
CD/DVD Coasters
Give old and scratched CDs or DVDs a new purpose as stylish coasters. Clean the discs with a soft cloth to remove any dust or fingerprints. Cut squares or circles from colorful felt or cork, slightly larger than the size of the discs. Apply strong adhesive to one side of the felt or cork and firmly press it onto the shiny side of the disc, ensuring it covers the entire surface. Trim any excess material. Now, you have eye-catching and functional coasters that not only protect your surfaces but also add a touch of creativity to your home decor.
CD/DVD Wall Art
Turn your collection of unwanted CDs or DVDs into an eye-catching piece of wall art. Begin by arranging the discs on a blank canvas or wooden board, experimenting with different patterns and angles until you find a design you like. Once you’ve settled on the arrangement, attach the discs to the surface using a strong adhesive or adhesive putty. Consider leaving some gaps between the discs to create a more dynamic and visually appealing composition. Hang your unique and reflective wall art on the wall, adding a modern and creative touch to your space.
CD/DVD Clock
Give a functional and artistic twist to an old CD or DVD by transforming it into a unique clock. Gather a round clock mechanism, which can be purchased at a craft store, and follow the instructions provided to assemble it. Attach the clock mechanism to the center of the CD or DVD using the provided hardware. You may need to drill a small hole in the disc to accommodate the mechanism. Decorate the disc by painting it or adding decorative elements such as stickers, washi tape, or even mosaic tiles. Insert the clock hands and battery into the mechanism, and now you have a one-of-a-kind timepiece that adds a touch of creativity to any room.

7. Mason Jar Crafts
Mason Jar Candle Holders
Create cozy and charming ambiance with mason jar candle holders. Take clean and dry mason jars in various sizes. Decorate the jars by painting them with glass paint, covering them in colorful tissue paper with mod podge, or wrapping them with twine or lace. Once the decorations are dry, place tea lights or pillar candles inside the jars and light them to create a warm and inviting atmosphere. Arrange the mason jar candle holders on tables, shelves, or hang them using wire or twine, allowing their cozy glow to illuminate your space.
Mason Jar Herb Garden
Bring fresh herbs into your kitchen with a convenient and stylish mason jar herb garden. Begin by collecting mason jars with lids. Using a hammer and nail, create drainage holes in the bottom of each jar for proper water flow. Fill each jar with potting soil and plant your desired herb seeds or seedlings. Label each jar and water accordingly. Place the jars near a sunny window or mounting them on a wooden board vertically. Watch your herbs grow and enjoy the convenience of having fresh herbs at your fingertips while adding a touch of greenery to your kitchen decor.
Mason Jar Soap Dispenser
Upgrade your bathroom or kitchen with a homemade mason jar soap dispenser. Take a clean and dry mason jar, and remove the metal lid. Trace the size of the soap dispenser pump onto the center of the lid. Use a drill or a sharp knife to carefully cut out the traced circle. Insert the soap dispenser pump into the hole, ensuring a snug fit. Fill the jar with your favorite liquid soap, secure the lid tightly, and give it a gentle shake to prime the pump. Now, you have a unique and rustic soap dispenser that adds a charming touch to your sink area.
8. Egg Carton Crafts
Egg Carton Flower Art
Create a blooming masterpiece with egg carton flower art. Cut out individual sections of an egg carton, leaving the rounded part intact. Trim the edges to resemble flower petals. Paint each section in vibrant colors, or cover them with colored tissue paper using mod podge. Attach a wooden skewer or pipe cleaner to the bottom of each flower, creating a stem. Arrange the flowers in a vase or create a whimsical garden display by sticking them in a piece of foam inside a larger container. Admire your colorful and eco-friendly floral creation that never wilts.
Egg Carton Caterpillar
Transform an egg carton into an adorable caterpillar that sparks children’s imagination. Cut out individual sections of the egg carton, leaving the rounded part intact. Paint the sections with bright colors that resemble a caterpillar’s body. Attach googly eyes or draw eyes with markers on one end of the first section. Join each section together using pipe cleaners or small strips of colored paper, creating a caterpillar shape. Encourage children to decorate the caterpillar by adding spots, patterns, or even glitter. Now, they have a playful friend to inspire imaginary adventures.
Egg Carton Pendant Light
Create a unique and eco-friendly pendant light using an egg carton. Cut out individual sections of the egg carton, leaving the rounded part intact. Trim the edges to create uniform cups. Paint each cup in colors of your choice, or cover them with decorative paper or fabric. Attach each cup to a string of LED fairy lights, ensuring the lights fit snugly inside each cup. Arrange the cups evenly along the string, letting them hang down and create a captivating pendant light. Hang the light in a corner of your room or over a table, adding a whimsical and sustainable touch to your decor.

9. Popsicle Stick Crafts
Popsicle Stick Photo Frame
Display your cherished memories with a personalized popsicle stick photo frame. Begin by collecting popsicle sticks or craft sticks. Arrange the sticks in the desired size and shape of your frame, ensuring the corners meet neatly. Glue the sticks together at the corners, creating a sturdy frame structure. Decorate the frame by painting it in your favorite colors or covering it with patterned washi tape. Once the paint or glue is dry, insert your chosen photo into the frame and display it on a shelf, desk, or hang it on a wall using small hooks or adhesive strips.
Popsicle Stick Bookmark
Make reading even more enjoyable by creating popsicle stick bookmarks. Take two popsicle sticks or craft sticks and paint each one with your favorite colors or patterns. Once the paint is dry, attach a small piece of ribbon or string to the top of one stick, leaving a hanging loop. Apply glue to the back of the second stick and sandwich it with the first stick, making sure the string or ribbon is secured between them. Decorate the bookmark with stickers, markers, or even small beads at the bottom. Now, you have a practical and personalized bookmark to save your place in your favorite books.
Popsicle Stick Christmas Tree
Embrace the holiday spirit by making popsicle stick Christmas trees. Collect multiple popsicle sticks or craft sticks. Arrange the sticks in a triangle shape, with the wider end at the bottom, to resemble a tree. Glue the sticks together at the corners, creating the tree’s structure. Decorate the tree by painting it green or covering it with green felt or paper. Embellish the tree with small ornaments, pom-poms, or glitter. Add a small star or a bow to the top. Display your popsicle stick Christmas tree on a tabletop or hang it on your Christmas tree as a unique ornament.
10. Scraps of Fabric Crafts
Fabric Covered Picture Frame
Give plain picture frames a stylish and personalized touch by covering them with fabric scraps. Start by collecting fabric scraps in various colors and patterns. Cut the fabric pieces into strips or squares to fit around the edges of the picture frame. Apply a thin layer of glue to the back of each fabric piece and carefully attach them to the frame, overlapping them slightly. Trim any excess fabric. Allow the glue to dry completely. Finally, add a favorite photo or artwork to the frame, showcasing your customized and visually appealing fabric-covered picture frame.
Fabric Scrap Keychain
Transform fabric scraps into charming and practical keychains. Take two pieces of fabric in different colors or patterns, each measuring approximately 2 inches by 2 inches. Place the fabric pieces with their right sides together and sew them together along three sides, leaving one side open. Turn the fabric inside out and fill it with stuffing or a small piece of felt. Sew the open side of the fabric, ensuring it is securely closed. Attach a small metal ring or keychain clasp to the top of the fabric, using a jump ring or sewing it directly. Now, you have a unique and handmade keychain to add flair to your keys or accessories.
Fabric Scrap Hair Accessories
Create trendy and personalized hair accessories using fabric scraps. Take fabric scraps in various colors, patterns, and sizes. Cut the fabric into long strips, approximately 1 inch wide. Braid three or more strips together to create fabric braids. Secure the ends with a small elastic or thread. Attach a bobby pin or hair tie to one end of the braid using glue or by sewing it. Now, you have a set of fashionable and eco-friendly hair accessories that can be worn in different styles, adding a touch of color and style to your hairdos.
Crafting with recycled materials is not only a creative way to engage in sustainable practices but also a great way to repurpose items that would otherwise end up in the trash. From bottle cap magnets to fabric scrap hair accessories, there is a wide range of possibilities when it comes to crafting with recycled materials. So, gather your supplies, let your imagination run wild, and enjoy the process of transforming everyday objects into unique and eco-friendly creations. Happy crafting!
