Looking to spruce up your space without breaking the bank? Look no further! In this article, we’ve compiled a list of 10 simple and affordable DIY home décor ideas that will transform your living space into a cozy and stylish haven. From transforming an old mason jar into a rustic vase to creating personalized wall art using colorful washi tape, these budget-friendly projects are sure to add a touch of charm to your home. So, grab your crafting supplies and get ready to unleash your inner artist – it’s time to give your space a much-needed makeover!
1. Wall Decor
Wall decor plays a crucial role in transforming the ambiance of your home. Whether you want to add a pop of color or showcase your personal style, there are numerous simple and affordable DIY options to consider.
1.1 Painted Accent Wall
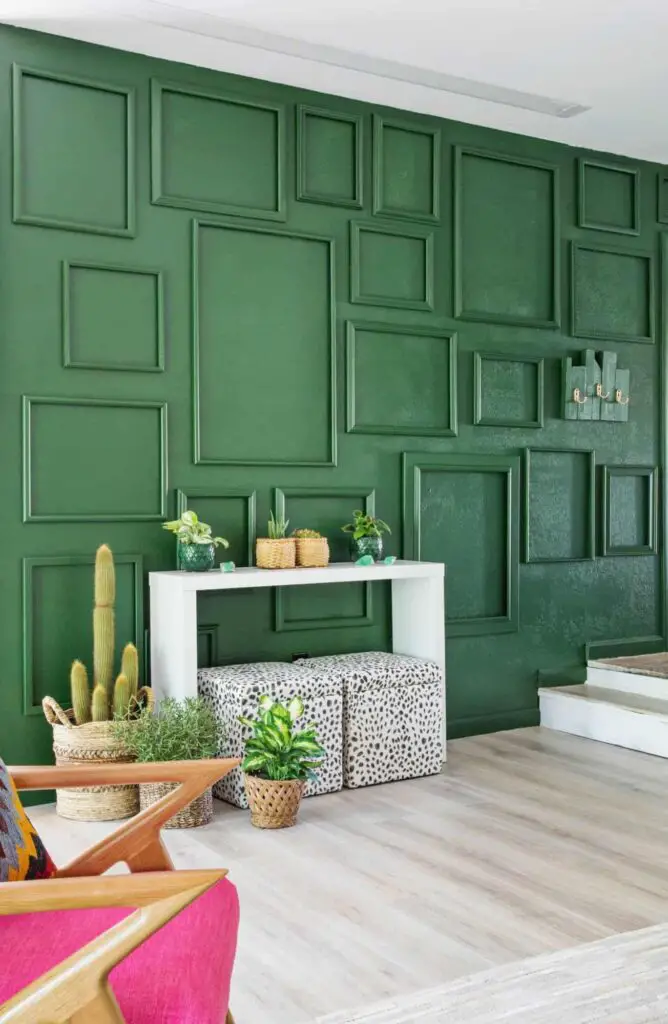
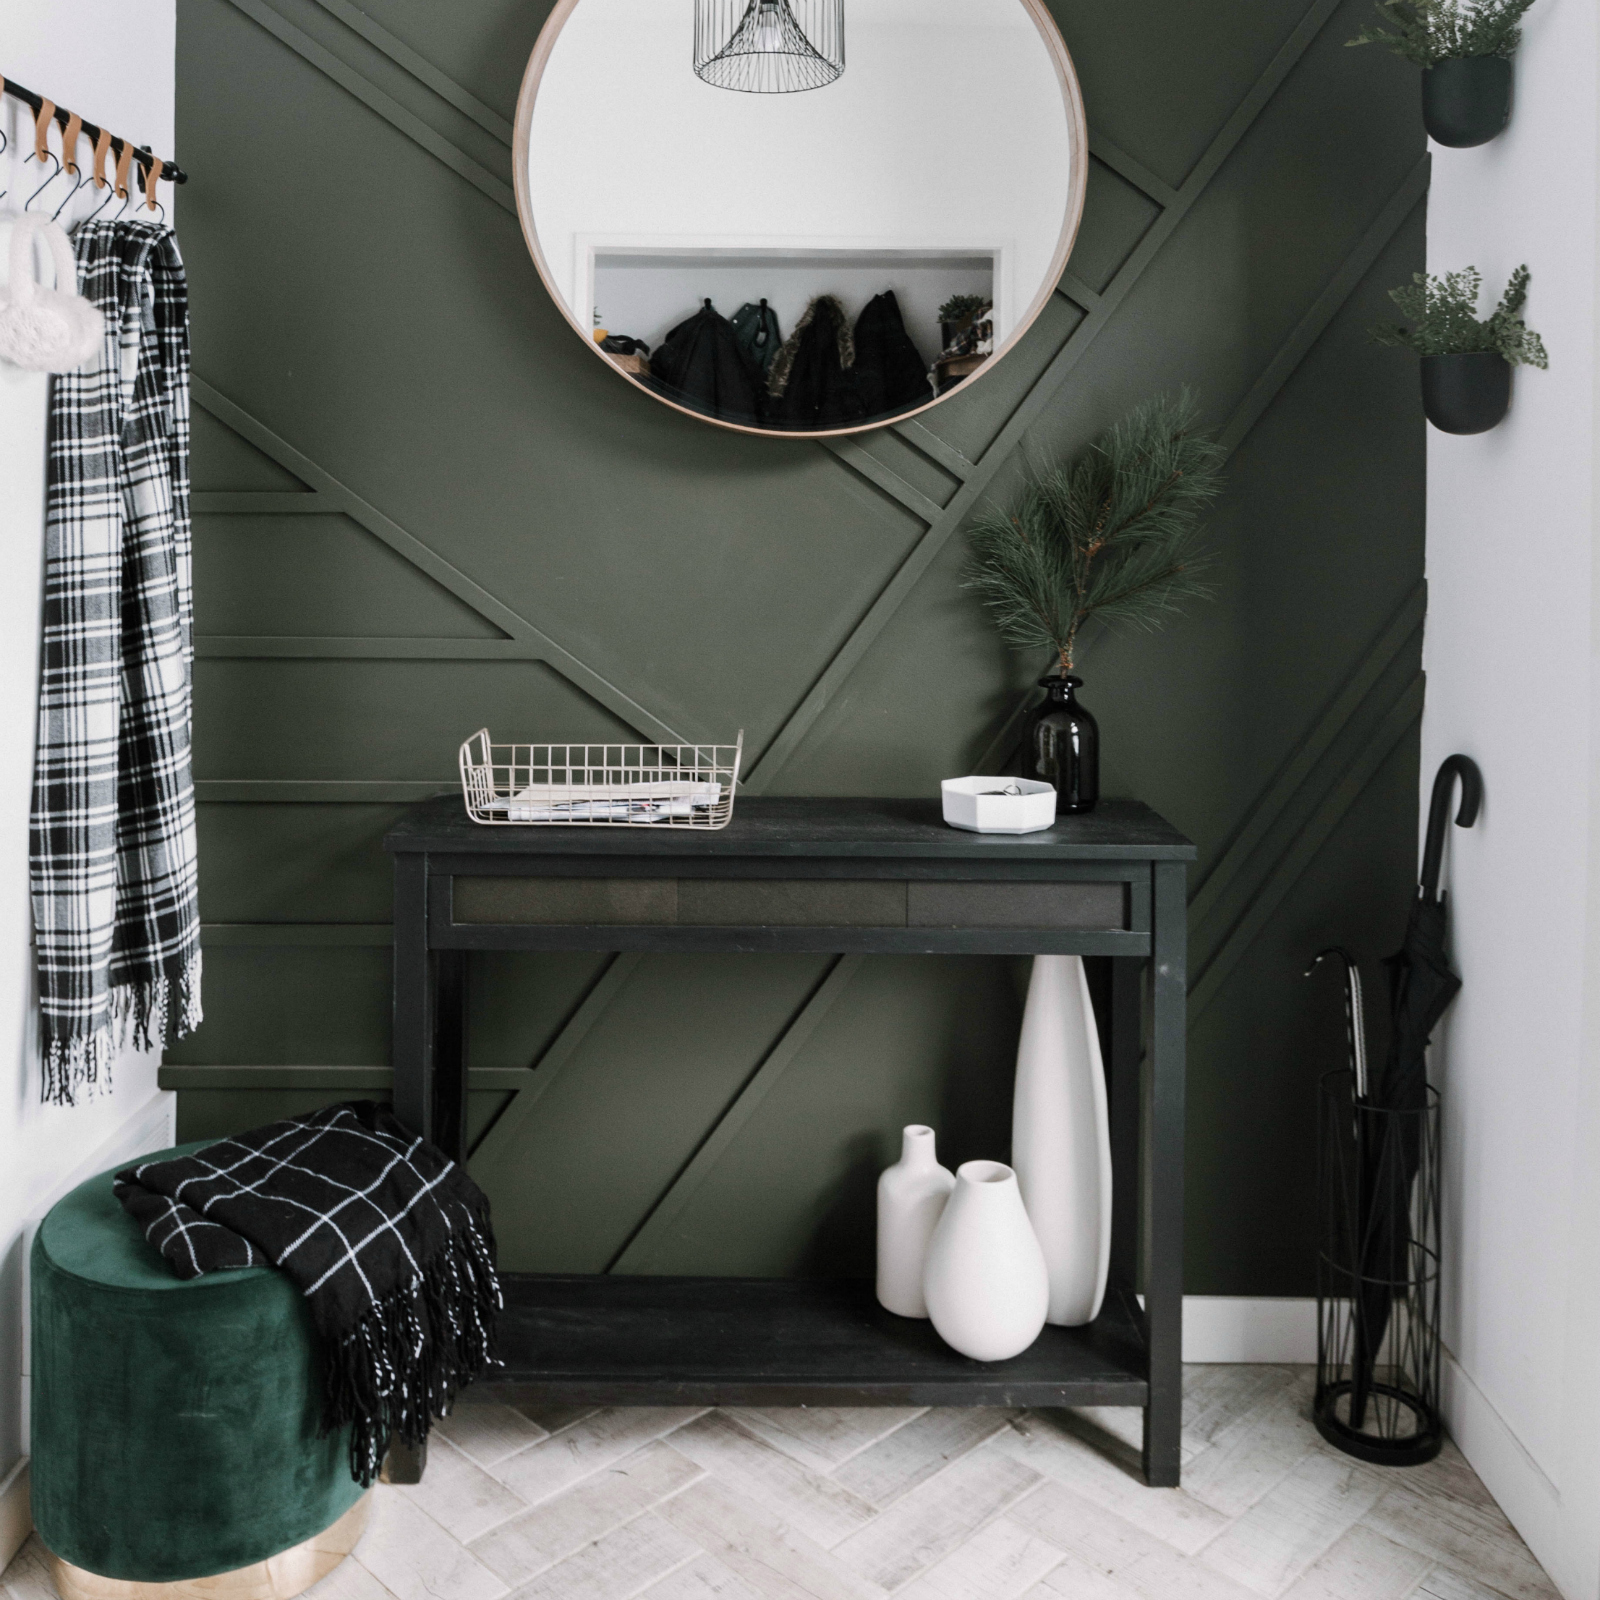
One of the easiest and most impactful ways to elevate your space is by painting an accent wall. Choose a bold hue that complements your existing décor and adds visual interest to the room. You can also get creative by using stencils or painter’s tape to create unique patterns or designs.
1.2 Gallery Wall
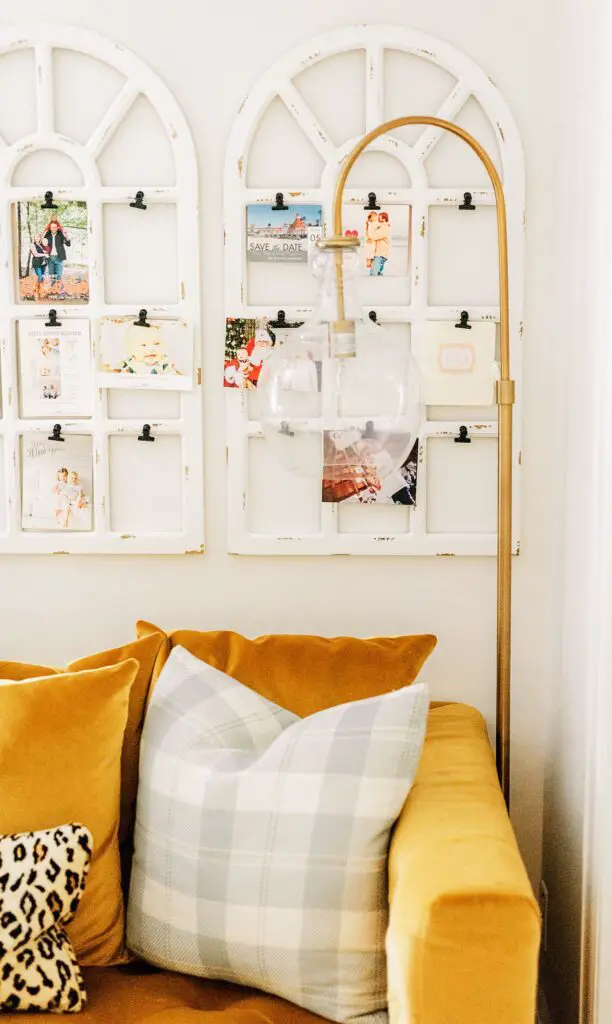
Creating a gallery wall is a fantastic way to display your favorite photos, artwork, and prints. Mix and match different frame styles and sizes to achieve an eclectic look. You can also incorporate other elements like mirrors, clocks, or even quirky objects to make your gallery wall truly unique.
1.3 Wall Decals
If you want to add a touch of whimsy to your walls without committing to permanent changes, wall decals are the perfect solution. Available in a wide range of designs and patterns, these peel-and-stick decals can instantly transform your space. Choose from nature-inspired motifs, inspirational quotes, or geometric shapes to suit your style.
1.4 Hanging Plates
For a vintage or bohemian touch, consider hanging decorative plates on your walls. Mix and match patterns and sizes to create an eye-catching display. You can either use plate hangers or adhesive disc hangers to securely mount the plates. This unique wall decor idea is sure to spark conversations and add a charming appeal to your home.
1.5 Floating Shelves
Floating shelves not only provide practical storage solutions but also serve as an excellent opportunity to showcase your favorite décor items. Arrange a collection of books, plants, or decorative objects on these sleek shelves. The best part? You can easily adjust the positioning of the shelves whenever you feel like rearranging your displays.
2. Lighting
Proper lighting can significantly impact the ambiance of your home. With a few simple DIY projects, you can enhance your space and create a warm and inviting atmosphere.
2.1 Mason Jar Lamps
Mason jar lamps add a rustic and cozy feel to any room. Start by selecting your desired size of mason jars and drill a hole in the lid large enough to fit the socket of a light bulb. Insert the socket through the hole and secure it with a nut. Attach a cord and plug, and you have your very own charming mason jar lamp.
2.2 Fairy Lights
Fairy lights are a versatile and enchanting lighting option. Drape them across headboards, mirrors, or wrap them around plants to create a magical ambiance. You can even fill transparent jars or containers with fairy lights to create unique table lamps. With their soft and warm glow, fairy lights add a touch of whimsy to any space.
2.3 Paper Lanterns
Paper lanterns are an inexpensive yet impactful way to add a pop of color to your home decor. Choose a variety of sizes and colors to create an eye-catching display. Hang them in clusters or string them up across a room to create a festive and cheerful atmosphere. These versatile lanterns are perfect for both indoor and outdoor use.
2.4 Wine Bottle Torch
Repurpose your empty wine bottles into stylish torches for your outdoor space. Clean the bottles thoroughly and fill them with citronella oil or torch fuel. Insert a wick into the bottle and secure it with a washer and a screw cap. Light the wick, and you have a beautiful and functional torch to illuminate your patio or garden.
2.5 Pendant Lamp
Creating your own pendant lamp allows you to add a personalized touch to your space. Start by selecting a base or shade that suits your style. Pair it with a pendant light kit, which typically includes a cord, socket, and ceiling canopy. Install the kit following the manufacturer’s instructions and hang your custom pendant lamp for an instant upgrade.
3. Plant Décor
Bringing plants into your home not only adds a touch of nature but also improves the air quality. Incorporating plant decor into your space can be both aesthetically pleasing and beneficial for your well-being.
3.1 Succulent Terrarium
Succulents are low-maintenance plants that thrive in terrariums. To create a succulent terrarium, start with a glass container of your choice. Layer the bottom with small rocks or pebbles for drainage. Add a layer of activated charcoal to keep the soil fresh. Plant your succulents in cactus soil, ensuring they have enough space to grow. Finish off with decorative stones or moss for a beautiful and self-contained ecosystem.
3.2 Hanging Planters
Hanging planters are an excellent way to add greenery to your space while saving valuable floor space. You can easily make your own hanging planters using materials like macrame, rope, or even repurposed containers. Hang them from the ceiling, on a wall, or from curtain rods to create an eye-catching display of suspended plants.
3.3 DIY Plant Stands
If you have a collection of potted plants, consider building your own plant stands to showcase them in style. From repurposing old ladders to using wooden crates, there are numerous creative ways to craft unique plant stands. These DIY stands add height and visual interest to your plant displays, creating a dynamic and inviting corner in your home.
3.4 Vertical Garden
When space is limited, a vertical garden can be an excellent solution. One easy method is to repurpose a wooden pallet. Attach planters or small pots to the pallet, ensuring proper drainage. Plant a variety of herbs, flowers, or succulents to create a stunning vertical garden. Hang the pallet on a wall or prop it against a fence to add a natural and vibrant element to your space.
3.5 Macrame Plant Hangers
Creating your own macrame plant hangers not only adds a personal touch but also provides a stylish way to display your plants. Macrame plant hangers are made by knotting cords or ropes together to create intricate patterns. You can find various tutorials online that guide you through the process. Hang these beautiful hangers near windows or from ceilings for a bohemian and natural vibe in your home.
4. Upcycled Furniture
Upcycling furniture not only allows you to save money but also gives you the opportunity to infuse your personal style into your home decor. With a little creativity and some basic tools, you can transform old and worn-out furniture into stylish pieces.
4.1 Painted Dresser
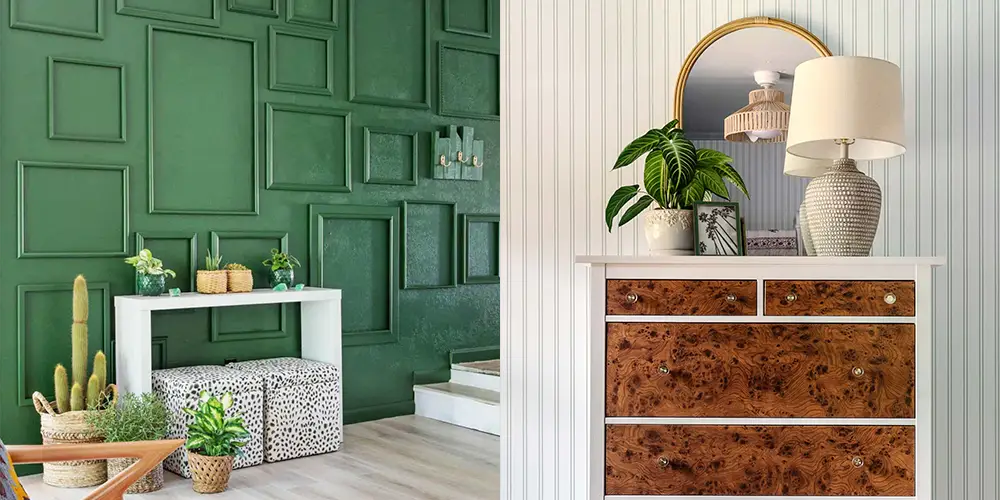
Give new life to an old dresser by painting it in a fresh and vibrant color. Sand the surface lightly to remove any roughness or imperfections. Apply a coat of primer to ensure better adhesion of the paint. Once dry, choose a paint color that complements your existing decor. Consider adding unique touches like stenciled designs or new drawer pulls to enhance the overall look of the piece. A painted dresser can become a centerpiece in your bedroom or living room.
4.2 Bookshelf Makeover
Revamp a tired and outdated bookshelf by adding a fresh coat of paint or wallpaper to the back panel. Choose a color or pattern that complements your room’s color palette. Alternatively, you can remove the back panel and replace it with a piece of fabric or a decorative wall decal for a unique touch. This simple makeover can bring new life to your bookshelf and make it a focal point in your space.
4.3 Pallet Coffee Table
Transform a wooden pallet into a chic and functional coffee table. Simply sand down the surface of the pallet to ensure a smooth finish. Add a coat of paint or stain to match your style and the existing decor. Attach four sturdy caster wheels to the bottom corners to make it easily movable. This upcycled coffee table is not only eco-friendly but also adds a rustic charm to your living room.
4.4 Chair Repurposing
Give an old chair a new purpose by repurposing it into a unique piece of furniture. Remove the seat cushion and replace it with a planter, creating a stunning display of flowers or herbs. Alternatively, you can repurpose a chair as a stylish side table by removing the backrest or cutting it shorter. Apply a fresh coat of paint or stain to match your desired aesthetic, and you have a repurposed furniture piece that adds character to your space.
4.5 Window Frame Mirror
Repurpose an old window frame into a beautiful and functional mirror. Remove any loose or damaged glass and replace it with mirrored glass or acrylic. Give the frame a fresh coat of paint or leave it distressed for a shabby-chic look. Hang the window frame mirror on a wall to instantly add a focal point and rustic charm to any room. This DIY project is a fantastic way to repurpose old materials while creating a stunning statement piece.
5. Textile Crafts
Incorporating textile crafts into your home decor adds warmth and texture to your space. From no-sew pillow covers to handmade quilts, there are various textile-based DIY projects that are simple and affordable.
5.1 No-Sew Pillow Covers
Refresh your throw pillows without breaking out the sewing machine. Instead, use fabric glue or iron-on adhesive tape to create no-sew pillow covers. Measure and cut fabric to fit around your pillows, leaving enough excess for overlapping and securing the edges. Fold and secure the fabric using fabric glue or iron-on tape. This quick and easy method allows you to change your pillow covers to match different seasons or themes in your home.
5.2 Tassel Wall Hangings
Create your own trendy tassel wall hangings to add a bohemian touch to any room. Start by selecting your desired color and texture of yarn. Wrap the yarn around a cardboard cutout of your desired size, leaving one end longer for tying. Cut through the wrapped yarn on one side, then tie the top portion with the longer piece of yarn. Trim the bottom to create even tassels. Attach the tassels to a wooden dowel or a branch using knots or glue. Hang your handmade tassel wall hanging for a stylish and personalized touch.
5.3 Fabric-Covered Storage Boxes
Transform ordinary storage boxes into beautiful and functional pieces by covering them with fabric. Start by measuring the sides and top of the box, adding a few inches for overlapping. Cut fabric pieces to fit each side, ensuring that they cover the edges as well. Apply fabric glue or use a staple gun to secure the fabric to the box. Fold and tuck the fabric neatly around the corners for a polished finish. These fabric-covered storage boxes are not only practical but also add a customized and cohesive look to your shelves or closets.
5.4 Embroidered Table Runner
Create a stunning embroidered table runner using basic embroidery stitches and a blank fabric runner. Start by sketching a design onto the fabric or use stencils for guidance. Select embroidery floss in colors that complement your chosen design. Use a variety of stitches, such as running stitch, backstitch, or French knots, to bring your design to life. Once you’ve completed the embroidery, trim any excess fabric and secure the edges to prevent fraying. This handmade table runner adds a personal and elegant touch to any dining table.
5.5 Patchwork Quilt
If you have basic sewing skills, consider making a patchwork quilt to add cozy warmth to your space. Start by collecting fabric scraps in coordinating colors and patterns. Cut these fabrics into equal-sized squares or rectangles. Arrange the fabric pieces in a pleasing pattern before sewing them together in rows. Join the rows to create the quilt top. Layer the quilt top with batting and a backing fabric, then quilt the layers together by stitching in the ditch or creating intricate patterns. Finish off by binding the edges of the quilt for a polished look. This handmade patchwork quilt becomes a treasured heirloom and a visual focal point in any bedroom.
6. Kitchen Upgrades
The kitchen is the heart of the home, and simple DIY upgrades can elevate its functionality and style. From a chalkboard wall to open shelving, explore easy and affordable ways to upgrade your kitchen.
6.1 Chalkboard Wall
Transform a section of your kitchen wall into a functional chalkboard, perfect for grocery lists, meal planning, or leaving messages. Start by applying a coat of chalkboard paint to the desired area. Allow the paint to dry fully before seasoning the chalkboard by rubbing the side of a piece of chalk across it, then erasing it. Hang a piece of chalk nearby, and you’ll have a fun and practical addition to your kitchen that doubles as unique wall decor.
6.2 Tile Backsplash
Upgrade your kitchen’s appearance by installing a tile backsplash. Start by selecting the type and style of tiles that complement your kitchen’s color palette and theme. Prepare the wall surface by cleaning it thoroughly and applying a backerboard or primer if necessary. Follow the manufacturer’s instructions to install the tiles, spacing them evenly and applying the adhesive or mortar. Once the tiles have set, grout the gaps between them, ensuring a smooth and even finish. A tile backsplash not only adds visual interest but also makes it easier to clean your kitchen walls.
6.3 Mason Jar Spice Rack
Organize your kitchen spices in a stylish and functional way by creating a mason jar spice rack. Start by repurposing a wooden board or plank as the base of your rack. Line up a row of mason jars on the board, ensuring they fit snugly. Secure the jars to the board by using hose clamps or jar clamps. Attach the board to the wall, and you’ll have a convenient and aesthetically pleasing spice rack that adds a rustic touch to your kitchen.
6.4 Hanging Pot Rack
Save valuable cabinet space and showcase your beautiful pots and pans with a hanging pot rack. You can purchase a pre-made pot rack or create your own using materials like a wooden dowel or a metal rod. Attach hooks to the dowel or rod and suspend it from the ceiling using heavy-duty chains or ropes. Hang your pots and pans from the hooks and enjoy the convenience of having your cookware within easy reach while adding a touch of culinary charm to your kitchen.
6.5 Open Shelving
Replace a few upper cabinet doors with open shelves to create an open and airy feel in your kitchen. Remove the cabinet doors and sand down any rough edges. Paint or stain the shelves to match your kitchen’s color scheme, or leave them natural for a rustic look. Mount the shelves securely to the wall using brackets or floating shelf hardware. Arrange your dishes, glassware, or decorative items on the open shelves for an organized and visually appealing kitchen display.
7. Creative Wall Art
Creative wall art instantly adds personality and character to any room. From abstract canvas art to wooden wall sculptures, explore various DIY ideas to create unique and captivating displays.
7.1 Abstract Canvas Art
Unleash your creativity by creating your own abstract canvas art. Start with a blank canvas in your desired size. Choose a color palette that suits your room’s decor and collect acrylic paints in those colors. Use brushes, sponges, or even your hands to apply paint to the canvas, experimenting with different brushstrokes and techniques. Allow the layers to dry between applications to create depth and texture. Abstract canvas art adds an artistic and contemporary touch to any space.
7.2 String Art
String art is a simple and captivating way to create unique wall decor. Start by selecting a wooden board or canvas as your base. Secure nails or screws evenly spaced on the board, forming the outline of your desired design or pattern. Wrap colorful embroidery thread or thin string around the nails, crisscrossing to create intricate patterns and shapes. Once you’ve completed the design, knot the thread securely and trim any excess. String art adds whimsy and texture to any room, becoming a conversation starter and a personalized piece of art.
7.3 Vintage Maps
Vintage maps bring a sense of nostalgia and adventure to your walls. Hunt for vintage maps of your favorite cities, countries, or even regions. Frame these maps or adhere them directly to your walls using removable tape or adhesive. Vintage maps can be a focal point in your living room or bedroom, sparking conversations and adding a unique touch to your space.
7.4 Wooden Wall Sculptures
Create your own wooden wall sculptures to add dimension and interest to your walls. Start by collecting various sizes and shapes of wooden branches or driftwood. Arrange the pieces to form a pleasing pattern or design. Secure the branches together using strong adhesive or wire. Attach the sculpture to the wall using nails or screws for a visually captivating and organic art display.
7.5 Botanical Prints
Botanical prints add a touch of nature and beauty to your walls. Find or print black and white botanical illustrations that suit your style. Frame these prints in minimalistic frames for a modern look or vintage frames for a classic touch. Arrange the framed botanical prints on a gallery wall or hang them individually to create a stunning display that celebrates the natural world.
8. Personalized Accessories
Personalized accessories add a unique and meaningful touch to your home decor. From custom photo coasters to engraved cutting boards, explore DIY projects that showcase your personal style and memories.
8.1 Custom Photo Coasters
Create custom photo coasters by printing and cutting out photos in the desired size. Laminate the photos using clear contact paper or adhesive laminate sheets. Trim any excess laminate and round the corners for a polished look. Attach adhesive rubber or cork to the back of each coaster to prevent slipping. These personalized coasters not only protect your furniture but also serve as reminders of cherished memories.
8.2 Stenciled Doormat
Welcome guests in style by stenciling your own doormat. Start with a plain coir doormat, available in various sizes. Choose a stencil design or create your own using adhesive vinyl or cardstock. Secure the stencil to the doormat using painter’s tape. Apply acrylic paint using a brush or foam roller, ensuring even coverage. Allow the paint to dry before removing the stencil. Your stenciled doormat adds a personalized touch and sets the tone for your home.
8.3 Monogrammed Wall Letters
Create personalized monogrammed wall letters to add a touch of elegance and sophistication. Start with large wooden or papier-mache letters in your chosen initial or initials. Paint the letters in a color that complements your space, or cover them with patterned paper or fabric using adhesive. Embellish the letters with decorative elements like rhinestones, dried flowers, or beads. Hang these monogrammed wall letters on a gallery wall or showcase them individually as a personal and stylish statement.
8.4 Hand-Painted Ceramic Mugs
Create your own hand-painted ceramic mugs to enjoy a warm cup of coffee or tea. Start with plain ceramic mugs and choose food-safe ceramic paint in your desired colors. Use fine-tipped paintbrushes to create intricate patterns or designs on the mugs. Allow the paint to dry fully before baking the mugs in a preheated oven, following the paint manufacturer’s instructions. These personalized mugs make wonderful gifts and add a personal touch to your morning routine.
8.5 Engraved Cutting Board
Personalize your kitchen with an engraved cutting board, perfect for displaying and functional use. Start with a wooden cutting board in the desired size and shape. Personalize the board by either engraving your family name, a meaningful quote, or an intricate pattern using a wood burning tool or laser engraver. Apply food-safe oil or conditioning balm to protect the surface and deepen the wood’s natural color. This custom cutting board becomes a cherished piece in your kitchen, adding character and warmth to your cooking space.
9. Creative Storage Solutions
Maximize your space and declutter your home with creative storage solutions. From repurposed ladder shelving to DIY storage bins, explore easy ways to organize and streamline your living areas.
9.1 Repurposed Ladder Shelving
Repurpose an old ladder into stylish and functional shelving. Sand down the ladder to remove any roughness or loose paint. Apply a fresh coat of paint or stain that complements your room’s decor. Attach wooden boards or planks to each rung to serve as the shelves. Secure the shelves to the ladder with screws or brackets. Lean the ladder against a wall and use the shelves to display books, plants, or decorative items. This repurposed ladder shelving adds a unique and practical element to any room.
9.2 Vintage Suitcase Storage
Transform vintage suitcases into stylish storage solutions. Clean the suitcase thoroughly to remove any dust or odors. Line the interior with fabric or adhesive shelf liner for a polished and clean look. Attach adhesive hooks or screws to the back of the suitcase or its lid. Hang the suitcase on a wall or the back of a door to create additional storage space. Store scarves, hats, accessories, or even mail in these vintage suitcase storage units for a touch of nostalgia and functionality.
9.3 Floating Bookshelves
Create floating bookshelves to display your favorite reading materials in a unique and visually appealing way. Start by securing L-shaped brackets to the wall. Attach wooden boards to the brackets, making sure they are level and securely mounted. Stack your books horizontally on the shelves, allowing them to rest against the wall. The books create the illusion of floating, adding an interesting and dynamic element to your wall decor.
9.4 Wall-Mounted Pegboard
Wall-mounted pegboards offer versatile storage solutions for various items in your home. Install a pegboard on your wall using screws or mounting tape. Hang hooks, baskets, or shelves on the pegboard to hold items like gardening tools, craft supplies, or kitchen utensils. Arrange the pegboard according to your storage needs, customizing it as your needs change over time. This easily adjustable storage solution keeps your essentials organized and within reach.
9.5 DIY Storage Bins
Create your own storage bins using fabric or canvas and sturdy cardboard boxes. Measure and cut the fabric to fit the sides and bottom of the box, leaving enough excess for folding over the edges. Secure the fabric to the box using fabric glue or adhesive tape. Fold and tuck the fabric neatly around the corners for a polished finish. These DIY storage bins can be used in closets, shelves, or under-bed storage, providing a stylish and organized way to store your belongings.
10. Outdoor Décor
Enhance your outdoor living area with simple and affordable DIY projects. From DIY planter boxes to upcycled tire ottomans, explore creative ways to transform your outdoor space.
10.1 DIY Planter Boxes
Create your own planter boxes to add greenery and color to your outdoor area. Start by measuring and cutting wooden boards to the desired size and shape. Assemble the boards to form a box, using wood screws or nails for strength. Line the bottom of the box with landscape fabric to prevent soil erosion. Fill the boxes with potting soil and plant your favorite flowers, herbs, or vegetables. Arrange the planter boxes on your patio, balcony, or in your garden for a natural and vibrant touch.
10.2 Painted Outdoor Rug
Elevate your outdoor seating area by painting a vibrant outdoor rug. Start with an inexpensive or worn-out outdoor rug. Use painter’s tape to create a design or pattern on the rug. Apply exterior paint in colors that complement your outdoor space, painting each section separately. Allow the paint to dry fully before removing the tape. This DIY painted outdoor rug adds a pop of color and personality to your patio or deck.
10.3 Outdoor String Lights
Hang outdoor string lights to create a cozy and enchanting atmosphere in your outdoor space. String lights are available in various lengths and styles, from classic string bulbs to fairy lights. Use cable hooks or zip ties to secure the lights to fences, posts, or trees. Arrange the lights in a way that enhances the ambiance of your outdoor area, whether you’re entertaining guests or simply enjoying a quiet evening under the stars. Outdoor string lights add warmth and glow to any outdoor setting.
10.4 Upcycled Tire Ottomans
Repurpose old tires into stylish and functional ottomans for your outdoor seating area. Clean the tires thoroughly and apply a fresh coat of paint in a color that complements your decor. Attach a round piece of plywood to the top of the tire using screws or adhesive. Cover the plywood with foam and fabric, securing it with a staple gun. These upcycled tire ottomans are not only eco-friendly but also provide additional seating and add a unique touch to your outdoor space.
10.5 Garden Sculptures
Create your own garden sculptures using materials like rocks, driftwood, or wire. Arrange rocks or pebbles into a stacked spiral or tower to create an eye-catching stone sculpture. Collect driftwood of various lengths and shapes to assemble into artistic structures. Use pliable wire to create whimsical wire sculptures of animals or abstract shapes. These DIY garden sculptures become focal points in your outdoor space, adding a touch of artistry and natural beauty.
