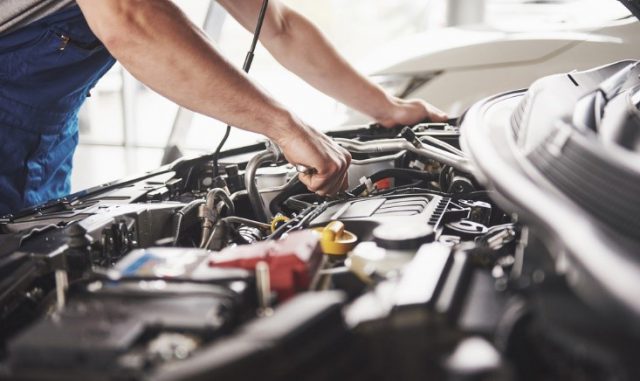
So, I recently discovered that there are actually quite a few simple car maintenance tasks that you can do yourself. You don’t have to be a car expert or spend a ton of money at the mechanic for every little thing. Trust me, I’m all for a frugal lifestyle and finding ways to save money wherever I can.
In my latest article, I’m going to share some easy DIY car maintenance tasks that you can tackle on your own. From changing the oil to replacing the air filter, there’s a lot you can do to keep your car in tip-top shape without breaking the bank. So, if you’re interested in learning more about these simple tasks and how they can save you money, stay tuned for my article. You won’t want to miss it!
Easy DIY Car Maintenance Tasks
As a car owner, it is important to understand the significance of regular car maintenance. By taking the time to perform simple do-it-yourself (DIY) tasks, you can ensure the longevity and performance of your vehicle, improve safety on the road, and save money on costly repairs. In this article, I will outline some basic car maintenance tasks that you can easily do yourself, as well as provide step-by-step instructions and tips to help you along the way.
Ensuring Longevity of Your Vehicle
Regular car maintenance is essential for ensuring the longevity of your vehicle. By taking proactive measures to care for your car, you can prevent premature wear and tear, prolong the life of your vehicle, and potentially avoid costly repairs down the line. By performing routine maintenance tasks, you can keep your car in optimal condition and enjoy a smooth and hassle-free driving experience.
Improving Safety on the Road
Another important reason to prioritize car maintenance is to ensure your safety on the road. By regularly inspecting and maintaining your vehicle, you can detect and address any potential safety hazards before they become major issues. For example, checking and replacing worn-out wiper blades will help to improve visibility during rain or snow, while maintaining proper tire pressure and condition will enhance traction and grip, reducing the risk of accidents. By keeping your car well-maintained, you can have peace of mind knowing that you are driving a safe and reliable vehicle.
Saving Money on Costly Repairs
One of the most compelling reasons to perform DIY car maintenance is the opportunity to save money on costly repairs. Regular maintenance can help identify and resolve minor issues before they escalate into major problems that require expensive repairs. By investing a little time and effort into basic maintenance tasks, you can potentially save hundreds or even thousands of dollars in repair bills. In addition, performing your own car maintenance eliminates the need to pay for labor costs, which can be quite significant at a mechanic’s shop. By taking matters into your own hands, you can become more self-reliant and frugal in your car ownership journey.
Basic Car Maintenance Tasks
Now that we understand the importance of car maintenance, let’s delve into some basic tasks that you can easily tackle yourself. These tasks require minimal tools and can be performed with little to no technical expertise. By regularly carrying out these maintenance tasks, you can keep your car running smoothly and avoid major problems in the future.
Checking and Topping Up Fluids
One of the simplest yet crucial tasks in car maintenance is regularly checking and topping up fluids. This includes engine oil, coolant, brake fluid, power steering fluid, and windshield washer fluid. By regularly monitoring the levels of these fluids and topping them up as needed, you can ensure that your car’s systems are properly lubricated and functioning optimally. Low fluid levels can lead to engine overheating, poor braking performance, and other issues.
To check the fluids, park your car on a level surface and open the hood. Locate the respective fluid reservoirs, which are usually labeled for easy identification. Use a dipstick or level indicator to check the fluid levels. If any of the fluids are below the recommended levels, use the appropriate fluid to top them up. Be sure to follow the manufacturer’s recommendations regarding the type of fluids to use. It is important to note that some fluids, such as transmission fluid and differential oil, may require a different procedure or special tools for checking and topping up. Refer to your car’s manual or seek professional advice for these specific fluids.
Changing the Oil and Filter
Regular oil changes are essential for maintaining the health and performance of your vehicle’s engine. Over time, engine oil becomes contaminated with dirt, debris, and sludge, which can hinder proper lubrication and cause damage to the engine. By changing the oil and filter at regular intervals, usually every 5,000 to 7,500 miles, you can keep your engine running smoothly and efficiently.
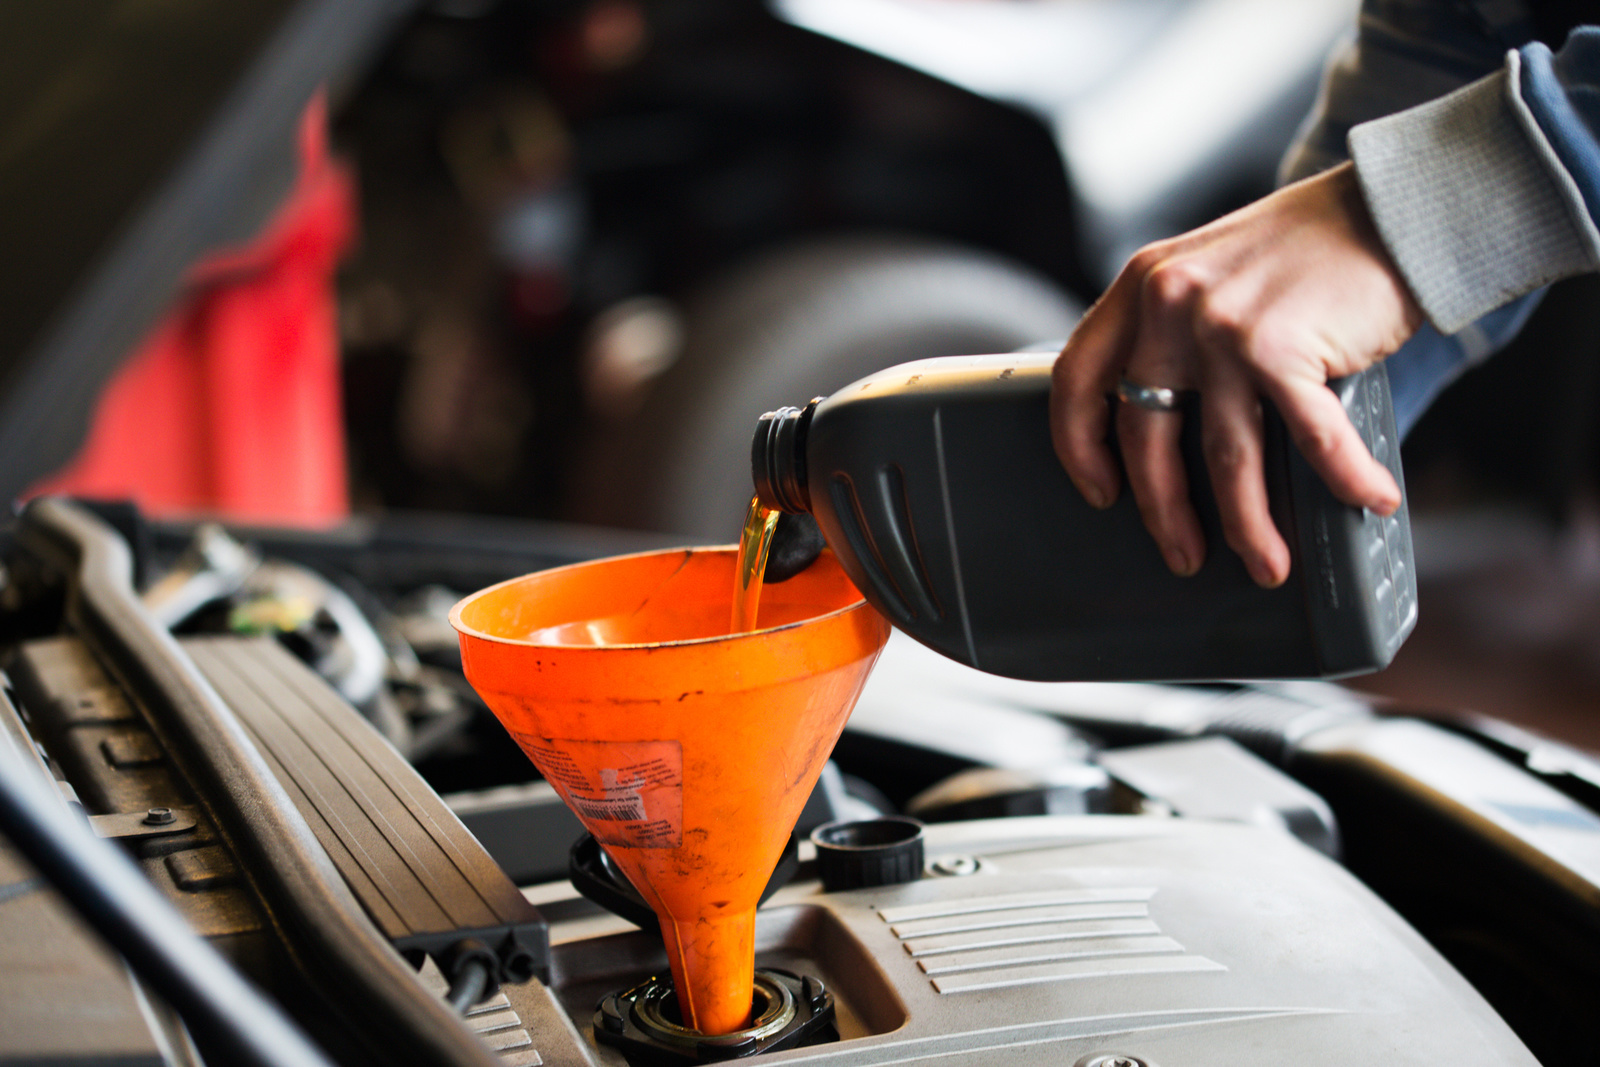
To change the oil and filter, you will need an oil filter wrench, an oil drain pan, a new oil filter, and the appropriate amount and type of engine oil. Begin by locating the oil drain plug under the car. Place the oil drain pan beneath the drain plug and use the wrench to loosen and remove the plug, allowing the old oil to drain completely. Once all the oil has been drained, replace the drain plug and remove the old oil filter. Apply a thin layer of oil to the rubber seal on the new filter, then install the new filter and tighten it by hand. Finally, use a funnel to add the appropriate amount of new oil to the engine, checking the dipstick to ensure the oil level is correct.
Replacing Worn-out Wiper Blades
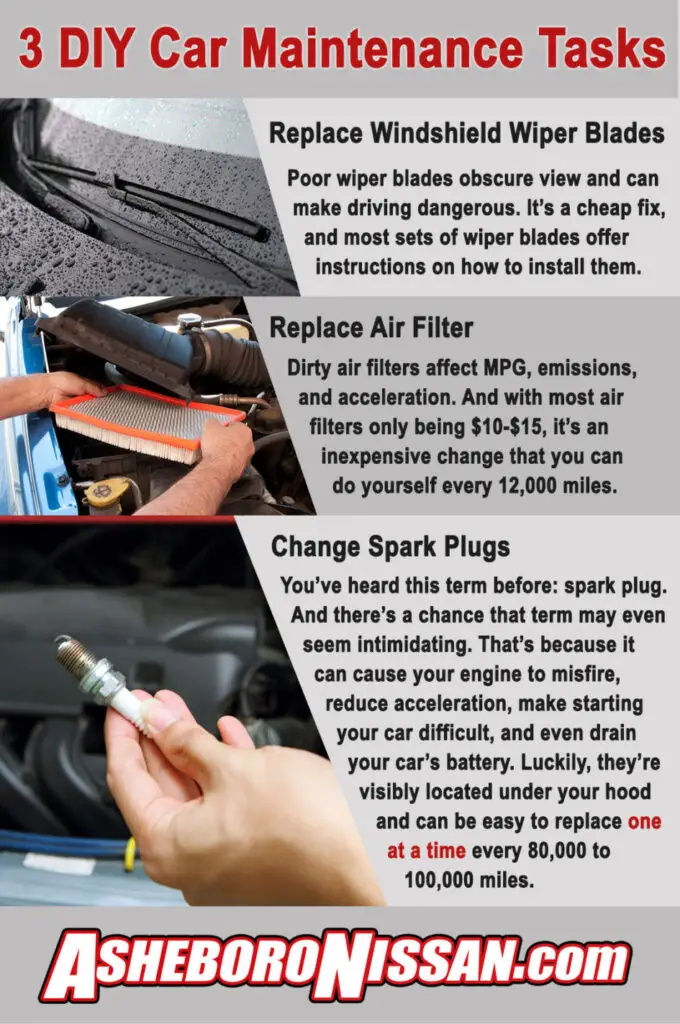
Having clear visibility is crucial for safe driving, especially during inclement weather. Over time, wiper blades can become worn and ineffective, resulting in streaks and reduced visibility. Replacing worn-out wiper blades is a simple yet important maintenance task that should not be overlooked.
To replace the wiper blades, lift the wiper arm away from the windshield and locate the small tab or release mechanism on the underside of the wiper blade. Depress the tab or release mechanism and slide the blade off the wiper arm. Then, attach the new wiper blade by sliding it onto the wiper arm until it clicks into place. Repeat this process for the other wiper blade. It is recommended to replace both wiper blades at the same time to ensure consistent performance.
Inspecting and Replacing Air Filters
Air filters play a crucial role in the performance and fuel efficiency of your vehicle. They prevent harmful debris and contaminants from entering the engine, ensuring clean air flow for combustion. Over time, air filters can become clogged with dirt and debris, reducing engine performance and fuel economy. Therefore, regular inspection and replacement of air filters is essential.
To inspect and replace the air filters, open the hood of your car and locate the air filter housing. Remove the housing cover, which is usually held in place by clips or screws. Carefully remove the old air filter and inspect it for any signs of dirt or damage. If the filter appears dirty or clogged, it is time to replace it with a new one. Install the new air filter, ensuring it is properly seated in the housing, and replace the cover.
Rotating the Tires
Rotating the tires is an important maintenance task that helps to ensure even tire wear, prolonging the life of your tires and enhancing driving safety. Tire rotation involves moving the tires from one position to another, such as moving the front tires to the rear and vice versa. This helps to distribute the wear more evenly across all four tires.
To rotate the tires, you will need a jack, jack stands, and a lug wrench. Begin by loosening the lug nuts on each wheel, but do not remove them completely. Use the jack to lift one corner of the car at a time and place a jack stand under the vehicle for added safety. Then, remove the lug nuts and take off the tire. Move the tire to the desired position, such as swapping the front and rear tires or crossing the front and rear tires. Install the lug nuts and tighten them securely, but not too tight. Repeat this process for each tire, ensuring that the lug nuts are tightened in a crisscross pattern to achieve even torque distribution.
Maintaining Proper Tire Pressure
Maintaining proper tire pressure is crucial for optimal tire performance, fuel efficiency, and safety. Underinflated tires can result in poor handling, reduced fuel economy, and increased risk of blowouts, while overinflated tires can lead to uneven wear and decreased traction. Therefore, regularly checking and maintaining the proper tire pressure is essential.
To check and maintain tire pressure, you will need a tire pressure gauge and an air compressor. Start by removing the valve cap from the tire. Press the tire pressure gauge firmly onto the valve stem to obtain an accurate reading. Compare the reading to the recommended tire pressure listed in your car’s manual or on the driver’s side door jamb. If the pressure is too low, use the air compressor to add air until the desired pressure is reached. If the pressure is too high, use the gauge to release some air until the correct pressure is achieved. Remember to replace the valve cap after adjusting the tire pressure.
Cleaning and Replacing Spark Plugs
Spark plugs play a vital role in the ignition process of your vehicle’s engine. Over time, spark plugs can become fouled with carbon deposits, which can lead to misfires, decreased fuel efficiency, and rough idling. Therefore, regular cleaning and replacement of spark plugs is important for maintaining optimal engine performance.
To clean or replace spark plugs, you will need a spark plug socket, a spark plug gap gauge, and a wire brush. Start by locating the spark plugs, which are usually connected to spark plug wires or ignition coils. Remove the spark plug wire from the spark plug by firmly pulling it off. Use the spark plug socket and a ratchet to loosen and remove the old spark plug. If the plug appears dirty or worn, clean it using a wire brush and carefully adjust the spark plug gap to the manufacturer’s specifications using the gap gauge. If the plug is in poor condition, it is advisable to replace it with a new one. Install the new or cleaned spark plug by hand, then use the spark plug socket and ratchet to tighten it to the recommended torque specification. Finally, reconnect the spark plug wire.
Checking and Replacing the Battery
The battery is a critical component of your vehicle’s electrical system. Regularly checking and replacing the battery, if necessary, is important for ensuring reliable starting power and preventing unexpected breakdowns. Over time, batteries can lose their ability to hold a charge or become corroded, leading to poor performance.
To check and replace the battery, you will need safety gloves, safety glasses, a battery terminal cleaner or wire brush, and a battery load tester or multimeter. Start by ensuring your engine and ignition are turned off, and put on the safety gloves and glasses. Locate the battery under the hood of your car and visually inspect it for any signs of damage or corrosion. If corrosion is present on the battery terminals, use the terminal cleaner or wire brush to remove it. Use the load tester or multimeter to check the battery voltage and ensure it has an adequate charge. If the battery is old, weak, or failing the load test, it is advisable to replace it with a new one. Disconnect the negative (black) battery cable first, followed by the positive (red) cable. Remove any holding brackets or clamps securing the battery, then carefully lift it out of its compartment. Clean the battery tray and install the new battery, ensuring the positive and negative terminals are correctly aligned. Secure the battery with any holding brackets or clamps, and reconnect the positive cable followed by the negative cable. Finally, test the battery to ensure it is operating correctly.
Maintaining the Braking System
The braking system is arguably the most important safety feature of your vehicle. Regular maintenance is essential for ensuring effective braking performance and preventing accidents. By inspecting and maintaining the braking system components, such as brake pads, rotors, and brake fluid, you can ensure optimal stopping power and avoid costly repairs.
To maintain the braking system, you will need a lug wrench, a jack, jack stands, a C-clamp or brake caliper tool, and brake fluid. Begin by loosening the lug nuts on each wheel, then use the jack to lift one corner of the car at a time and place a jack stand under the vehicle for added safety. Remove the lug nuts and take off the wheel. Inspect the brake pads for any signs of wear or damage. If the pads are worn to the point where the metal backing is visible or if they are significantly thinner than new pads, it is recommended to replace them. Use the C-clamp or brake caliper tool to compress the brake caliper piston, allowing room for the new pads. Install the new brake pads, ensuring they are securely seated in the caliper. Replace the wheel, tighten the lug nuts, and repeat the process for each wheel. Finally, check the brake fluid level and top it up if necessary, using the appropriate type of fluid.

Tools and Equipment Needed
Performing DIY car maintenance tasks requires certain tools and equipment. While you may not need every tool for every task, it is important to have a basic set of tools on hand to tackle most maintenance tasks. Here are some essential tools for basic car maintenance:
- Set of screwdrivers (including flathead and Phillips head)
- Adjustable wrench
- Socket set
- Pliers
- Oil filter wrench
- Jack and jack stands
- Tire pressure gauge
- Air compressor
- Spark plug socket
- Wire brush
- Battery terminal cleaner or wire brush
- C-clamp or brake caliper tool
- Brake fluid
- Oil drain pan
- Funnel
In addition to these tools, it is also recommended to have some safety equipment on hand, such as safety gloves and glasses, to protect yourself during maintenance tasks.
Step-by-Step Instructions for Common Tasks
Now that we have covered the basic car maintenance tasks you can easily do yourself, let’s provide step-by-step instructions for each task to guide you through the process.
Checking and Topping Up Fluids
- Park your car on a level surface and open the hood.
- Locate the respective fluid reservoirs, which are usually labeled for easy identification.
- Use a dipstick or level indicator to check the fluid levels.
- If any of the fluids are below the recommended levels, use the appropriate fluid to top them up.
- Be sure to follow the manufacturer’s recommendations regarding the type of fluids to use.
Changing the Oil and Filter
- Gather the necessary tools and equipment, including an oil filter wrench, an oil drain pan, a new oil filter, and the appropriate amount and type of engine oil.
- Locate the oil drain plug under the car.
- Place the oil drain pan beneath the drain plug and use the wrench to loosen and remove the plug, allowing the old oil to drain completely.
- Replace the drain plug and remove the old oil filter.
- Apply a thin layer of oil to the rubber seal on the new filter, then install the new filter and tighten it by hand.
- Use a funnel to add the appropriate amount of new oil to the engine, checking the dipstick to ensure the oil level is correct.
Replacing Worn-out Wiper Blades
- Lift the wiper arm away from the windshield and locate the small tab or release mechanism on the underside of the wiper blade.
- Depress the tab or release mechanism and slide the blade off the wiper arm.
- Attach the new wiper blade by sliding it onto the wiper arm until it clicks into place.
- Repeat this process for the other wiper blade.
Inspecting and Replacing Air Filters
- Open the hood of your car and locate the air filter housing.
- Remove the housing cover, which is usually held in place by clips or screws.
- Carefully remove the old air filter and inspect it for any signs of dirt or damage.
- If the filter appears dirty or clogged, replace it with a new one.
- Install the new air filter, ensuring it is properly seated in the housing, and replace the cover.
Rotating the Tires
- Loosen the lug nuts on each wheel, but do not remove them completely.
- Use the jack to lift one corner of the car at a time and place a jack stand under the vehicle for added safety.
- Remove the lug nuts and take off the tire.
- Move the tire to the desired position, such as swapping the front and rear tires or crossing the front and rear tires.
- Install the lug nuts and tighten them securely, but not too tight.
- Repeat this process for each tire, ensuring that the lug nuts are tightened in a crisscross pattern to achieve even torque distribution.
Maintaining Proper Tire Pressure
- Remove the valve cap from the tire.
- Press the tire pressure gauge firmly onto the valve stem to obtain an accurate reading.
- Compare the reading to the recommended tire pressure listed in your car’s manual or on the driver’s side door jamb.
- If the pressure is too low, use the air compressor to add air until the desired pressure is reached.
- If the pressure is too high, use the gauge to release some air until the correct pressure is achieved.
Cleaning and Replacing Spark Plugs
- Locate the spark plugs, which are usually connected to spark plug wires or ignition coils.
- Remove the spark plug wire from the spark plug by firmly pulling it off.
- Use the spark plug socket and a ratchet to loosen and remove the old spark plug.
- If the plug appears dirty or worn, clean it using a wire brush and carefully adjust the spark plug gap to the manufacturer’s specifications using the gap gauge.
- If the plug is in poor condition, replace it with a new one.
- Install the new or cleaned spark plug by hand, then use the spark plug socket and ratchet to tighten it to the recommended torque specification.
- Reconnect the spark plug wire.
Checking and Replacing the Battery
- Ensure your engine and ignition are turned off, and put on safety gloves and glasses.
- Locate the battery under the hood of your car and visually inspect it for any signs of damage or corrosion.
- If corrosion is present on the battery terminals, use the terminal cleaner or wire brush to remove it.
- Use the battery load tester or multimeter to check the battery voltage and ensure it has an adequate charge.
- If the battery is old, weak, or failing the load test, replace it with a new one.
- Disconnect the negative (black) battery cable first, followed by the positive (red) cable.
- Remove any holding brackets or clamps securing the battery.
- Lift the battery out of its compartment and clean the battery tray.
- Install the new battery, ensuring the positive and negative terminals are correctly aligned.
- Secure the battery with any holding brackets or clamps, and reconnect the positive cable followed by the negative cable.
- Test the battery to ensure it is operating correctly.
Maintaining the Braking System
- Gather the necessary tools and equipment, including a lug wrench, a jack, jack stands, a C-clamp or brake caliper tool, and brake fluid.
- Loosen the lug nuts on each wheel, then use the jack to lift one corner of the car at a time and place a jack stand under the vehicle for added safety.
- Remove the lug nuts and take off the wheel.
- Inspect the brake pads for any signs of wear or damage.
- If the pads are significantly worn or damaged, replace them.
- Use the C-clamp or brake caliper tool to compress the brake caliper piston, allowing room for the new pads.
- Install the new brake pads, ensuring they are securely seated in the caliper.
- Replace the wheel, tighten the lug nuts, and repeat the process for each wheel.
- Check the brake fluid level and top it up if necessary, using the appropriate type of fluid.
Benefits of DIY Car Maintenance
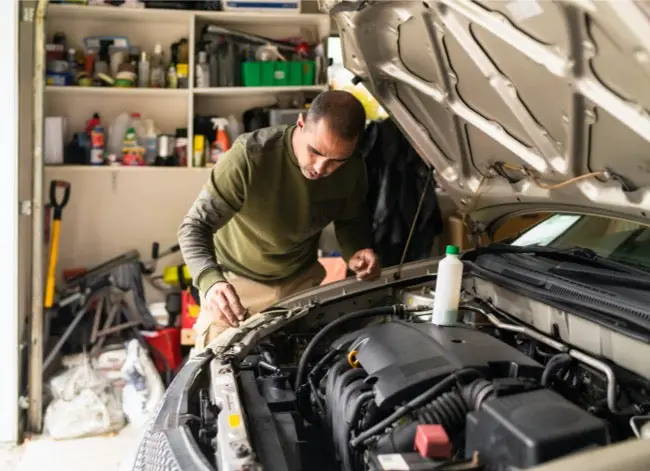
Performing DIY car maintenance tasks offers several benefits, beyond just the financial savings. Let’s explore some of the advantages of taking matters into your own hands:
Saves Money on Labor Costs
By performing your own car maintenance, you can save money on labor costs. The cost of labor at a mechanic’s shop can be quite significant, ranging from $50 to $150 or more per hour. By handling basic maintenance tasks yourself, you eliminate the need to pay for these labor charges. While there may be some expenses associated with purchasing tools and equipment, these costs are generally a one-time investment that can be recouped over time through the money saved on labor.
Empowers Car Owners
Performing DIY car maintenance tasks empowers car owners by giving them a deeper understanding of their vehicles and the ability to take control of their own maintenance needs. It allows car owners to become more self-reliant and less dependent on mechanics for simple tasks. This sense of empowerment can be both empowering and fulfilling, as it enables car owners to take an active role in caring for their vehicles.
Builds a Sense of Confidence
As car owners gain experience and knowledge through DIY car maintenance, they develop a sense of confidence in their abilities. This confidence extends beyond just car maintenance tasks and can be applied to other areas of life. It reinforces the idea that with the right tools, knowledge, and practice, they can tackle challenges and solve problems independently. This newfound confidence can have a positive impact on various aspects of life, leading to a greater sense of self-assurance and accomplishment.
Common Car Maintenance Mistakes to Avoid
While performing DIY car maintenance can be rewarding and cost-effective, it is important to avoid common mistakes that can lead to unnecessary complications or costly repairs. Here are some mistakes to watch out for:
Skipping Regular Maintenance
One common mistake is neglecting regular car maintenance. It can be tempting to put off maintenance tasks when everything seems to be running smoothly, but this can lead to problems down the line. Regular maintenance tasks, such as oil changes, tire rotations, and fluid checks, are designed to prevent issues before they become major problems. By sticking to a maintenance schedule, you can catch and address minor issues early on, saving you time and money in the long run.
Using Incorrect Fluids or Parts
Using incorrect fluids or parts can have serious consequences for your vehicle’s performance and longevity. It is important to use the correct type and grade of fluids recommended by the manufacturer. Using the wrong type of oil or coolant, for example, can lead to engine damage or overheating. Similarly, using non-OEM (original equipment manufacturer) parts can void warranties and compromise the quality and safety of your vehicle. Always consult your car’s manual or seek professional advice when it comes to selecting fluids and parts.
Neglecting to Follow Proper Procedures
Car maintenance tasks often involve specific procedures that must be followed in order to ensure proper execution. Neglecting to follow these procedures can lead to mistakes or incomplete tasks. It is important to carefully read and understand the instructions for each maintenance task and follow them step by step. Take your time and double-check your work to ensure everything is done correctly. If you are unsure about any step or procedure, seek guidance from a professional or consult your car’s manual.
Overlooking Safety Precautions
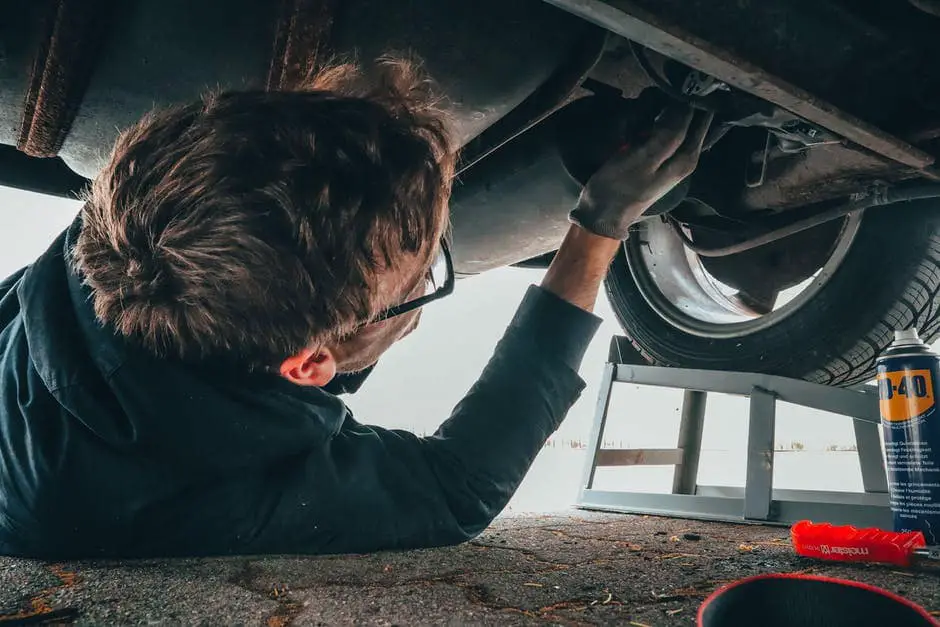
Performing DIY car maintenance tasks can be physically demanding and potentially hazardous if proper safety precautions are not taken. Neglecting safety precautions can result in injuries or accidents. It is important to wear appropriate safety gear, such as safety gloves and glasses, to protect yourself from potential hazards. Use caution when working with tools and equipment, and be mindful of your surroundings. If a task seems too complex or dangerous, do not hesitate to seek professional help.
When to Seek Professional Help
While DIY car maintenance can save you money and empower you as a car owner, there are times when it is necessary to seek professional help. Here are some situations when professional assistance may be required:
Complex Repairs and Troubleshooting
If you encounter a complex issue or require major repairs, it is best to seek professional help. Complex repairs, such as engine or transmission repairs, often require specialized knowledge and equipment that may be beyond the scope of DIY car maintenance. Additionally, troubleshooting certain problems may require advanced diagnostic tools and expertise that only experienced mechanics possess. Attempting to tackle these tasks on your own without the necessary knowledge or equipment can lead to further damage or incorrect repairs.
Specialized Services
Certain car maintenance tasks, such as wheel alignments or engine tuning, require specialized knowledge and equipment that may not be readily available to the average car owner. These tasks often require precision and expertise to ensure proper execution. In such cases, it is advisable to seek the services of a professional who specializes in the specific task or has the necessary equipment to perform it accurately.
Manufacturer Warranty Obligations
If your vehicle is under warranty, it is important to follow the manufacturer’s guidelines and warranty obligations. Some warranties require routine maintenance to be performed by authorized dealerships or certified mechanics in order to remain valid. Neglecting to adhere to these warranty obligations could result in the voiding of your warranty, leaving you responsible for any repairs or associated costs. Be sure to consult your warranty documentation and understand the terms and conditions before attempting any DIY car maintenance.
Conclusion
Regular car maintenance is crucial for the longevity and performance of your vehicle. By performing simple DIY tasks, such as checking fluids, changing the oil, replacing wiper blades, inspecting air filters, rotating tires, maintaining proper tire pressure, cleaning spark plugs, checking the battery, and maintaining the braking system, you can save money, improve safety, and develop a sense of empowerment as a car owner. However, it is important to know your limits and seek professional help when necessary to ensure the best care for your vehicle. By adopting a proactive approach to car maintenance and taking responsibility for the health of your vehicle, you can enjoy a smooth and reliable driving experience for years to come.
